
Wanderburg Core Mechanics
How the physics engine, modules, and systems actually work.
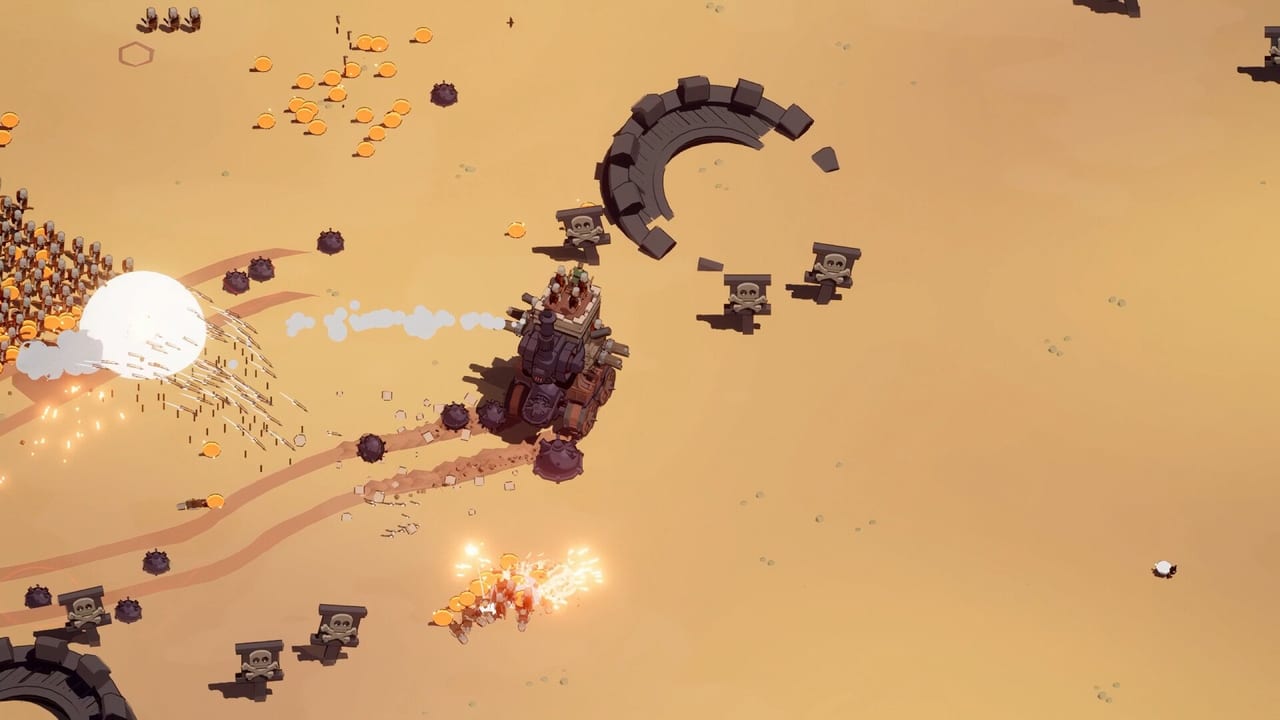
Understanding Wanderburg’s mechanics at the system level lets you make better build decisions. This page explains the physics engine, weight and suspension, module synergy rules, boost management, and the scrap economy. All observations come from launch build gameplay and the game database.
For practical application, see how to grow your castle and best builds.
The Physics Engine
Wanderburg uses a reactive physics engine where kinetic damage and armor absorption dictate every engagement. When a projectile strikes your fortress, the impact force distributes across adjacent connected modules.
Critical rule: If you attach a heavy storage pod to a weak wooden strut, a single catapult boulder will snap the connection, instantly destroying the pod and everything attached to it, regardless of the pod’s individual health pool.
Energy dissipation: Sandwiching engine blocks between reinforced storage pods reduces flank one-shots by nearly 80%. Kinetic energy dissipates through denser outer layers before reaching your vital core.
Module connections: Every module has connection points. Weak connections fail under stress. Balance your chassis symmetrically and reinforce high-stress attachment points.
Weight and Suspension
Suspension is the most critical stat in the game. Exceeding 85% of your maximum load capacity drastically increases kinetic damage from ramming attacks.
When suspension is over-encumbered, wheels lose their shock-absorbing properties. Full collision force transfers directly into your chassis.
Weight guidelines:
- Keep total weight under 50% capacity for maximum mobility
- Pair heavy offensive modules with corresponding wheel upgrades
- Losing a wheel on an unbalanced heavy keep causes spin, exposing your unarmored rear
Practical test: A fortress under 50% capacity can reverse just as fast as enemies advance. This enables the backpedal-and-snipe strategy with ballistas.
Boost and Movement
Boost is not optional in the late game. The game describes it as the tax you pay for being large.
Boost mechanics:
- Activating boost provides a speed burst
- Boost increases ram damage because the damage scales with speed
- Rear engine upgrades amplify boost effectiveness
- Boost management decides survival in boss fights
Build principle: Armor without boost is a coffin. Always keep a way to boost for escape or pursuit.
Module Slots and Synergies
Modules fit into five slots: Back, Crew, Front, Side, and Top. Understanding slot constraints is essential for build planning.
Slot roles:
- Front: Direct damage weapons, rams, teleporters
- Side: Ranged weapons, ballistas, cannons
- Top: Support weapons, mortars, mage units
- Back: Escape tools, mines, dash modules
- Crew: Passive effects, repair, gold generation
Four-slot limit: The game design centers on four equipped actives. The fifth idea is a lie. When in doubt, upgrade a theme rather than collecting a zoo.
Synergy examples:
- Ballista plus Auto-Loader module increases fire rate by 20%
- Fire mage plus burn-spread artifacts creates sustained area damage
- Barracks units benefit from Support HP crews for sustain
The Scrap Economy
Scrap is the primary resource. You earn it by consuming structures and defeating enemies.
Efficiency note: Devouring peripheral hamlets before engaging fortified stone keeps increases scrap yield by approximately 35% compared to the repair costs from fighting strongholds prematurely.
Scrap uses:
- In-run repairs
- Module purchases and upgrades
- Blueprint unlocks between runs
Persistent meta-progression: Collecting special blueprints and rare resources from sector bosses permanently unlocks new siege weaponry, reinforced chassis modules, and upgraded engine blocks for all future runs.
Ram Mechanics
Ram is one of the strongest modules in the launch build. The damage scales with impact speed.
Optimal ram strategy:
- Align with the enemy’s broadside
- Activate engine boost
- Hit once and leave immediately
- Turn and hit again
Warning: Missing your target leaves your unarmored flanks completely exposed to counterattacks.
Ram plus boost: The combination is considered overtuned by many players. The speed bonus from boost significantly amplifies ram damage.
Fire Damage System
Fire mage modules and fire circle artifacts create a burn mechanic.
Fire mechanics:
- Fire damage ticks over time
- Burn spreads between touching enemies
- Some bosses are immune to burning (Mage Tower has 70% fire resistance and immunity)
Common mistake: A ram can knock a target out of your own fire circle, negating the burn damage. Stand still in the fire and let the oven work.
Enemy Targeting Priority
In combat, prioritize targets in this order:
- Wheels first — Immobilized enemies are vulnerable to sustained fire
- High-damage artillery — Mortar towers and rocket launchers
- Support units — healers and buffers
- Everything else — cleanup with auto-fire
Why wheels first: A keep with destroyed wheels cannot run. It becomes stationary artillery, which is easier to circle-strafe.
The Food Chain
Wanderburg operates on a size-based food chain:
- Eat things smaller than you
- Flee from things larger than you
- Spend gold between runs
This is not a suggestion. Municipal Darwinism is the core design. A fortress designed to clear hamlets will struggle against a boss. Adapt your module synergies for each encounter.
Leaving is valid: If a boss is larger than you, boosting away and returning after a shop trip is correct play. Pride rams down the throat end runs.
The video in the middle of this page demonstrates physics interactions, module combinations, and combat decisions from a full game run.
Frequently Asked Questions
Quick answers to the most common Wanderburg questions.
Why does my fortress break so easily?
Your module connections are likely weak. Heavy modules on weak struts fail under impact. Use reinforced storage pods as buffers between engines and armor. Keep weight under 85% capacity.
Is boost necessary?
Yes. Late-game content requires boost for survival. Ram damage scales with speed. Armor without boost is a coffin. Always keep a boost option available.
Should I fight every enemy I see?
No. The food chain principle applies. Eat smaller structures for scrap efficiency. Peripheral hamlets yield 35% more scrap than the repair costs from premature stronghold fights. Flee larger enemies and return after upgrades.
How does module synergy work?
Modules in different slots serve different roles. The game centers on four equipped actives. Synergy comes from stacking related effects: ballista plus auto-loader, fire mage plus burn artifacts, barracks plus support crews.
What is the correct boss strategy?
Target wheels first to immobilize, then focus fire. Keep moving against artillery bosses. If the boss is larger than you, leaving is valid. Come back after a shop trip.