
Wanderburg Complete Walkthrough
Every stage, every boss, every growth decision — in order.
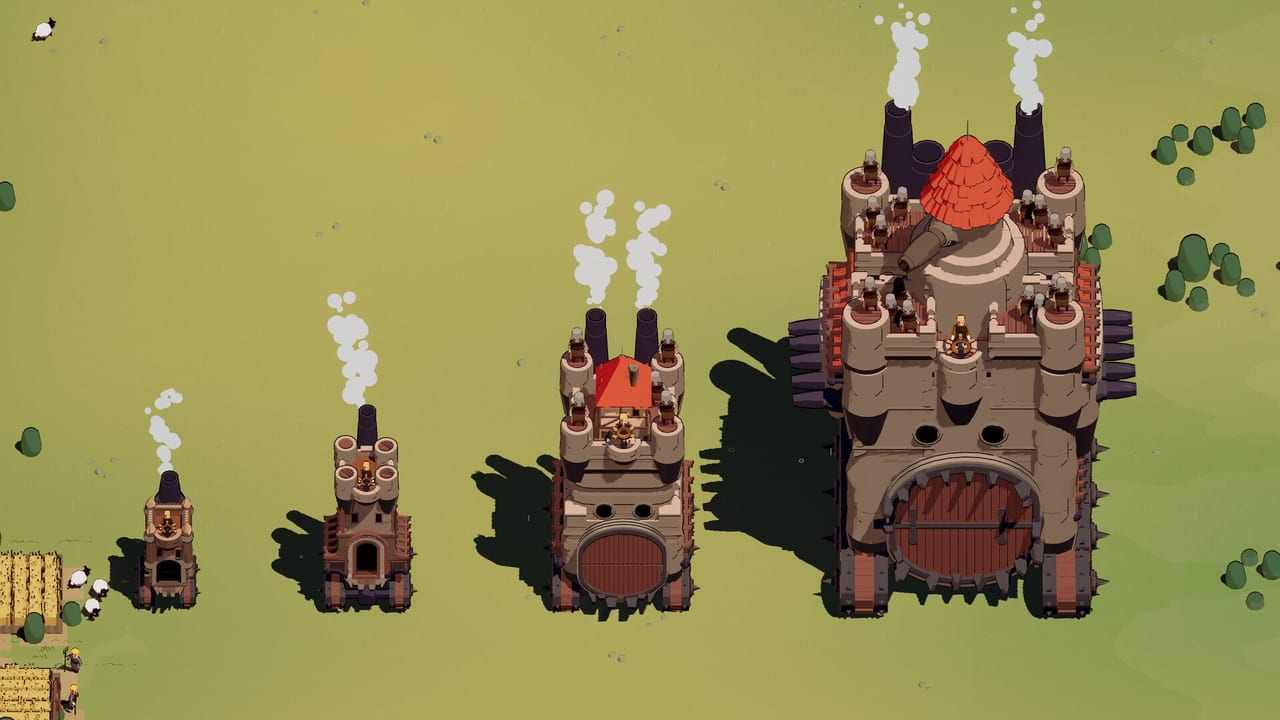
This walkthrough follows a full game capture in 4K 60FPS, documented stage by stage from the first grasslands run through the tier bosses and into Early Access content. Use it as a video companion to the written guides. If you want just the demo slice, use the demo walkthrough. If you want the theory, use core mechanics. This page is the route.
Wanderburg is single-player. Each run is a procedural map. This walkthrough is not a script — it is a documented run with notes on what decisions mattered and why.
Stage 1 — The Learning Loop
The first stage is forgiving. Small villages, bicycle knights, sheep everywhere. Your keep is small, your turning circle is tight, and nothing on the field should scare you if you remember the food chain rule: eat smaller, flee larger.
What to do:
- Learn to aim your mouth. Archers auto-fire; you still steer.
- Collect sheep and small structures for gold. Do not chase every chicken — the time cost is real.
- Find a village or two. Eating a cottage gives meaningful gold and teaches you how long chews take.
- Ignore larger forts for now. You are not ready.
What to skip:
- Mid-size forts with visible cannons. They will hurt you.
- Any structure that looks bigger than your current footprint.
Boss encounter: The Tier 0 boss appears at the end of Stage 1. It has 1800 HP and is designed to teach you that dodging is easier than tanking. If you feel underpowered, the boss will not wait — come back after a shop run.
Stage 2 — First Growth
By Stage 2, you have seen a boss or died trying. Gold from Stage 1 buys your first meaningful upgrade. The captains page names your options; the module tier list ranks them.
What to do:
- Spend gold on one captain you understand and one module that fills a hole.
- Start thinking about a build sentence: “I ram twice” or “I am an oven” or “I lick the map and refuse to die.”
- Face the Tier 1 boss (Sauger, 4500 HP) if you are larger. Flee if you are not.
The Sauger fight: This boss is larger than Tier 0 and hits harder. Ram-boost builds should time boost carefully. Mortar and ranged modules work well here. The key is not standing still — its 17.5 speed means it can catch you if you hesitate.
What to skip:
- Artifact pedestals that force you into the open. Safe gold beats risky rewards.
- Other player-scale keeps unless you are clearly larger.
Stage 3 — The Mid-Game Pressure
Stage 3 is where the food chain gets serious. Mortar towers, double cannons, spike spheres, and the Tier 2 Mortar boss (6000 HP, 50 damage per volley) appear here. The how to beat bosses page has full tactics; this section covers the stage flow.
What to do:
- Prioritize wheels on larger enemies. Immobilized targets are easy to circle-strafe.
- Keep boost available. The Mortar boss punishes anyone who stands still.
- If you are running a fire mage build, start using the circle. Park it on the boss and let burn stack.
The Mortar Boss: High damage artillery every 0.25 seconds. Projectiles have travel time — use that to dodge. Circle-strafe at range. Kite builds with mortar or high-damage ranged modules excel here.
What to skip:
- Large Rocket Towers. They appear in Stage 3 and their rockets pass through all units. Eliminate them quickly or they eliminate you.
- Standing in any fixed position against artillery.
Stage 4 — The Late Game and Tier 3 Boss
Stage 4 is where the game gets serious. The Mage Tower boss (10,000 HP) and elite units like the Side-Shooting Agent and Large Rocket Tower populate this stage. The enemy database has exact stats; this section covers the flow.
What to do:
- Check the horizon before every engagement. You are large, slow, and visible.
- Keep the best builds sentence in mind: four modules that serve one idea.
- Use boost for escapes, not just for rams.
The Mage Tower fight: Three attack patterns including a 10-projectile burst that passes through friendlies and enemies. Do not try to tank this. Sustained damage builds or high-damage ranged builds work best. Keep moving.
What to skip:
- Pride rams down the throat of any boss larger than you.
- Extended fights that leave you exposed to a second large enemy.
Early Access Content — Beyond Grasslands
The public demo is grasslands only. Early Access on 8 September 2026 adds the desert biome and Dark Forest. The biomes page covers the differences in detail. The updates hub tracks what is confirmed versus trailer-only.
Desert changes:
- Enemies use leg-based locomotion instead of wheels. Vertical slam tells replace horizontal movement cues.
- The Rusty Knight is the signature desert boss. His armor resists ordinary cannon fire.
- New elite units: Large Rocket Tower and Side-Shooting Agent.
Dark Forest changes:
- Darker atmosphere with ambush-style enemy compositions.
- The Mage Tower appears as a Tier 3 boss across all biomes.
- Fire Monk and other close-range specialists replace grassland ranged units.
Full Game Capture
The video embedded in this page is a complete no-commentary playthrough in 4K 60FPS. Watch it to see:
- Full stage progression from Stage 1 through Stage 4
- Boss attack patterns and dodge timing
- Gold spending decisions and shop choices
- The food chain in action: eating and being eaten
Pair it with the demo walkthrough for the demo-specific notes, or with how to grow your castle for the growth theory behind the decisions you see on screen.
Frequently Asked Questions
Quick answers to the most common Wanderburg questions.
How long is a full Wanderburg run?
Public captures cluster around 15-40 minutes for demo runs. Full Early Access runs through all four stages take longer depending on greed and how many bosses you attempt.
What is the hardest stage in Wanderburg?
Stage 4 with the Mage Tower boss (10,000 HP) is the hardest standard encounter. Dark Tower stages add the Fire Tornado attack for additional challenge.
Can I skip stages and still win?
You cannot literally skip stages, but you can avoid boss encounters. Gold from sheep and villages still buys shop upgrades. Bosses speed the snowball; they are not required.
Is the walkthrough the same for every run?
No. Maps are procedural. This walkthrough documents decisions and priorities that transfer across runs, not a fixed route through identical terrain.